
How To Apply A Vinyl Wall Decal

Your decal comes sandwiched between transfer tape and the waxy paper backing that the sticky side of the vinyl is stuck to. The transfer tape actually looks like masking tape, but for this illustration, it is clear so that you can see what is happening to the vinyl more clearly.


The most important step during the decal installation is making sure the installation area is clean and dry. Before you begin, wipe down the surface you want to apply the decal to with just water. If you use a cleaner, the decal may not stick to the chemicals that are used in the cleaner.

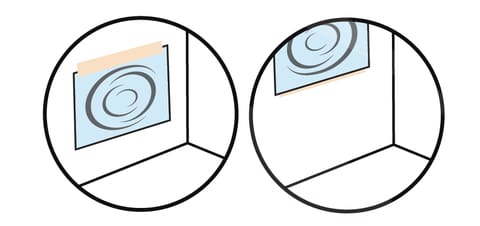
Apply a long piece of masking tape along the top of the decal with approx. half of the tape on the decal and half on the vehicle surface. This will make a large hinged ‘flap’. The hinged flap will make installation much easier. For long thin designs, you can cut the decal in half (up and down between the lettering) once it has been tapped to create two flaps for even easier installation.


With the wax paper backing peeled halfway downward, begin to apply the sticky side of the decal to the surface with the squeegee. Be sure to use even strokes horizontally across the decal. Only apply the first half of the decal. Continue smoothing out the decal with long horizontal strokes, starting at the top and working towards the bottom. Continue to remove the backing paper as needed until all of the backings is removed from the decal. For larger decals, remove only half of the waxy backing and smooth it onto the wall before removing the rest of the backing. Make sure the decal doesn’t fold over onto itself.

REMOVE THE TRANSFER TAPE
Once the entire sticky side of the decal is applied to the surface, go over the decal with the squeegee, with increasingly harder strokes. Then begin peeling the transfer tape covering off of the decal by pulling the tape back 180 degrees. Finish removing the transfer tape covering, peeling from one side to the other.


